Created :
Written by Support InfoBridge
Overview
The Synchronizer needs to be migrated to another server as the server will be outphased.
Due to the way the Synchronizer is designed, you will be up and running in a matter of time. The biggest part of the Synchronizer configuration is stored in the SuperOffice database, making the installation very flexible.
How to
Stop the Synchronizer service
Make sure that the service is stopped during the migration process.
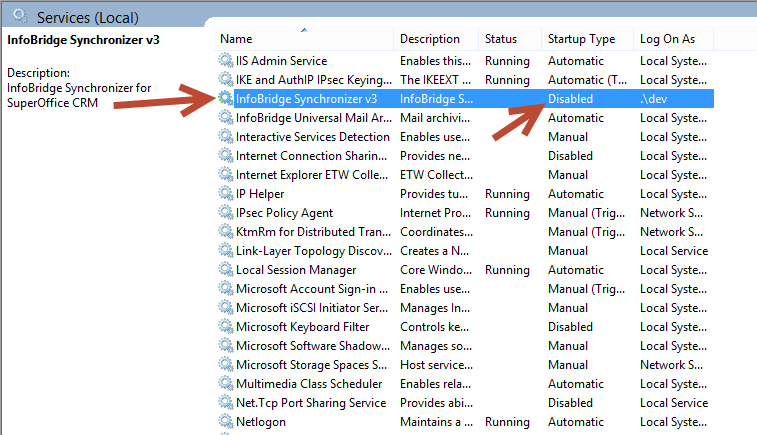
- Log into the old SyncServer and stop (and disable) the InfoBridge Synchronizer service (in services.msc)

Installation on the new server
Install the Synchronizer on the new server
- Login on the new server as the SyncUser and start the installation (Download setup here)
- Finish the installation
Optional: Copy the %appdata% information
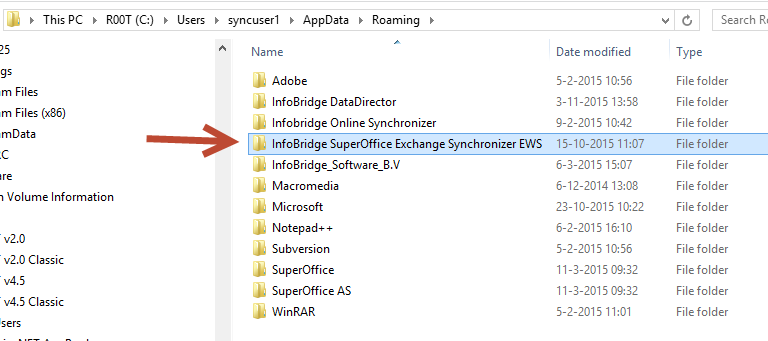
The Synchronizer stores some temporary information in the %appdata%\InfoBridge SuperOffice Exchange Synchronizer EWS folder. As this is temporary information, you can safely skip this step and let the Synchronizer rebuild this information. This will take some time though (depending on the amount of users and appointments), normally a couple of hours.
- Copy this complete folder to the new server

Checking the configuration
- Log into the Synchronizer Administrator
- Check and verify the Technical Settings panel
- Check and verify the Service Options panel
- Check and verify if the correct user is configured on the InfoBridge Synchronizer service (in services.msc)
Running the Synchronizer
If all steps are positive, you can run the Synchronizer safely. It's a good idea to start the GUI as this gives visual feedback.
- Run the Synchronizer GUI
- Optionally: enable debugging and check for strange errors
Uninstalling the old Synchronizer
If everything is running fine, uninstall the InfoBridge Exchange Synchronizer on the old server.