Created :
Written by Support InfoBridge
Overview:
When using the Outlook/Exchange Synchronizer, you might use the functionality to sync Contacts from SuperOffice to Outlook. Only one-way sync is possible for Contacts, more info. The reason behind it: Contacts are a very important entity in SuperOffice and a deletion from Outlook would have disastrous effects on the SuperOffice side.
Note: if you have a "Lite edition" Synchronizer, this feature will be disabled.
How to:
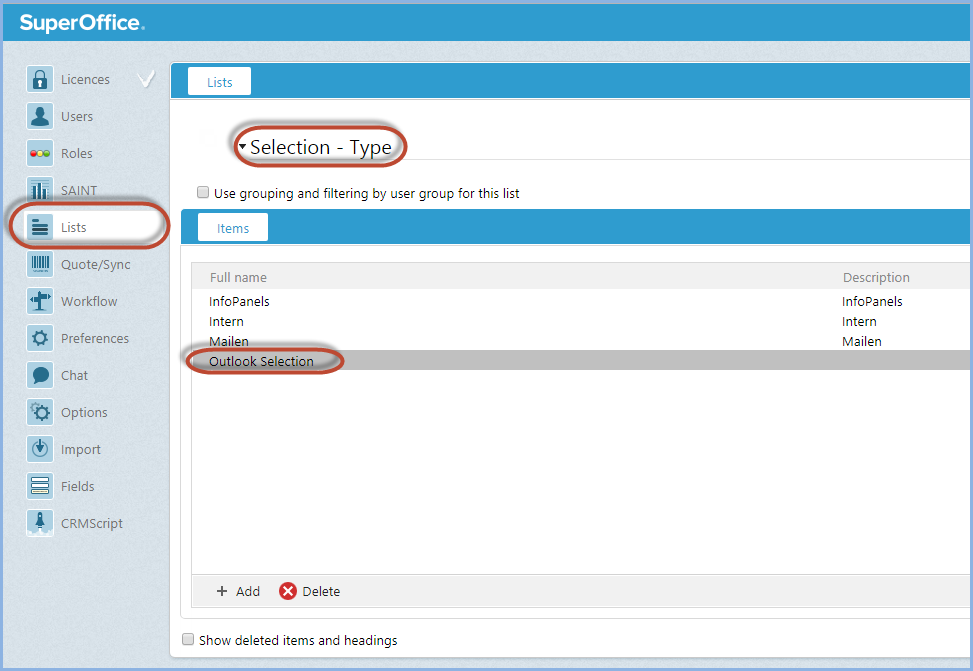
First of all you have to create a new Selection Type in the SuperOffice Admin
- Start SuperOffice Admin
- Select Lists - Type (Selection)
- Create a new List Item (e.g. Outlook Selection)
- Click OK
Next you have to setup the Synchronizer admin:
- Start the Synchronizer Admin
- Select the SuperOffice CRM Settings panel
- Tick the checkbox "Synchronize SuperOffice CRM Selections"
- Select the Selection Type which you created in the SO Admin (e.g. Outlook Selection)
- Click: Apply this setting for All the Users (or Selected Users)

Last job to do is to create a new SuperOffice selection and add members. The SO Selection requires to following conditions:
- Category needs to be the Selection Type which you created in the So Admin (e.g. Outlook Selection)
- The Selection needs to be Static
- You need to be set as the owner of the selection
- The selection should be visable for you only
As soon as you have created the selection, the contacts will be synced to your Outlook.